Video asta are vre-o patru ani, abia acum l-am gasit prin arhiva personală și am decis să-l pun pe youtube. Mi-am adus aminte un pic de drumuri și cum se mergea în Moldova.
Cabane a sucre

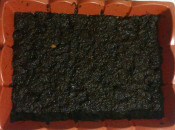
Orzul la cinci zile
Iată cum arata orzul la cinci zile.
![13062_10205404382201683_3546850025986945926_n[1]](https://valeriu.tihai.md/upload/2015/03/13062_10205404382201683_3546850025986945926_n1-500x500.jpg)
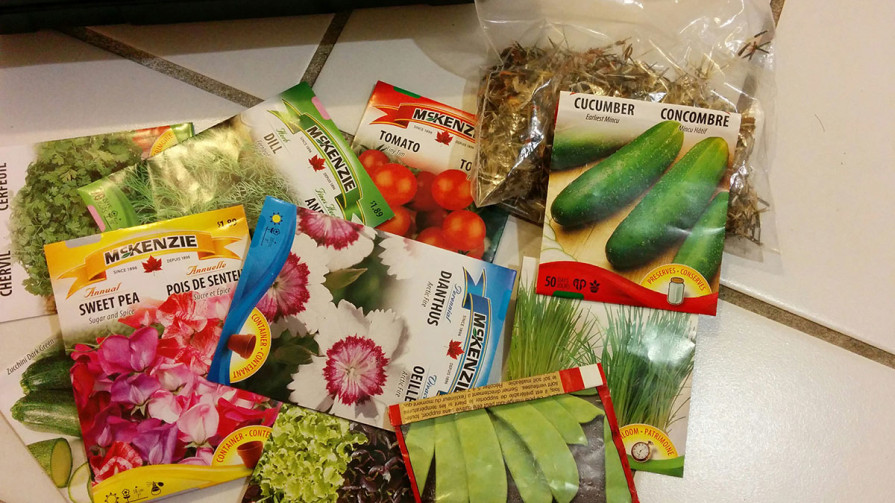
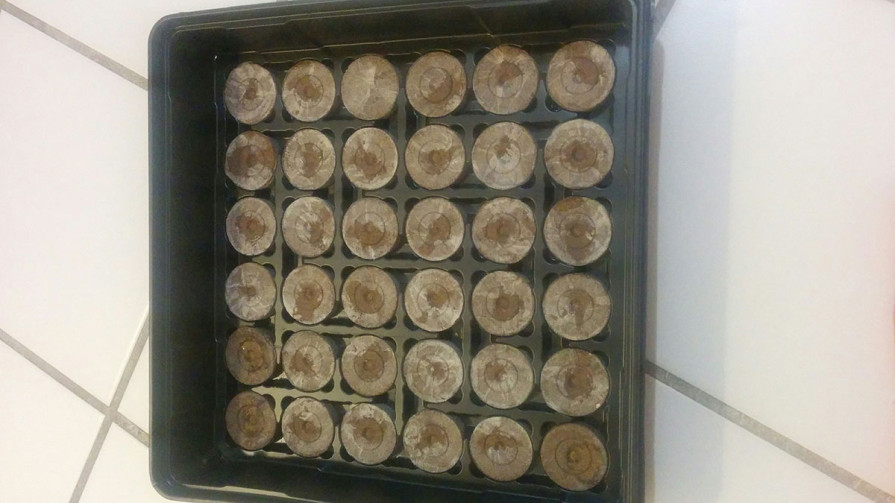
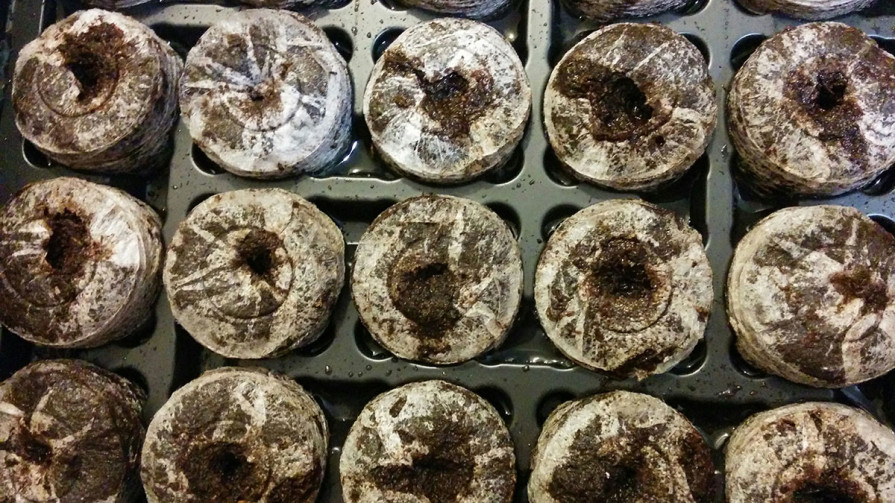
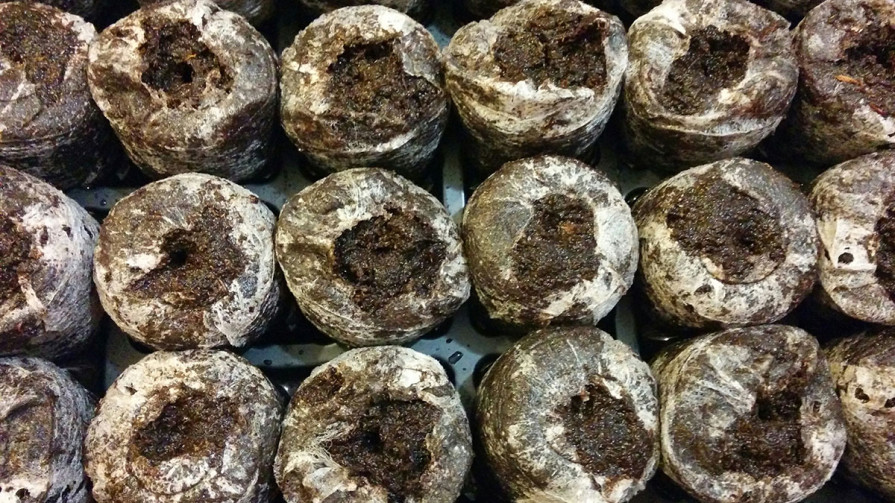
Plantez seminte pentru răsaduri
Categories:Natură
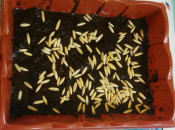
Plantăm orz
Azi îmreună cu Justin am plantat orz.
Kitsault BC
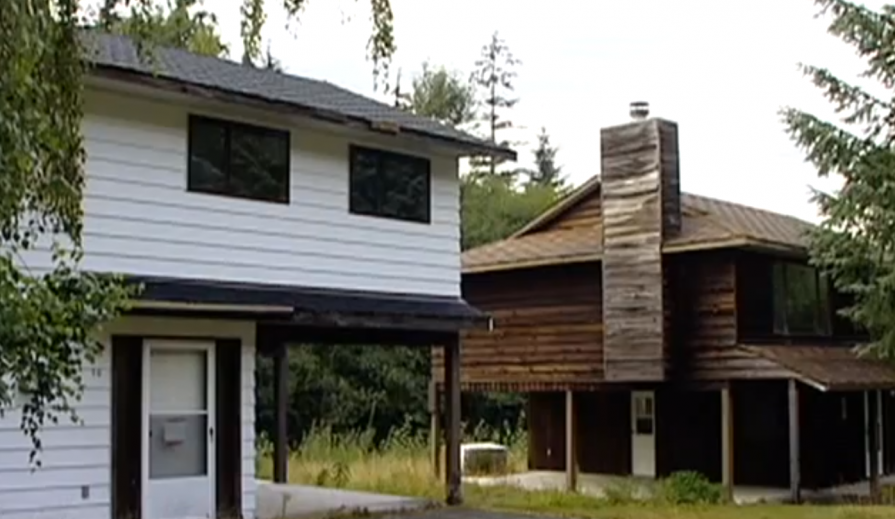
Un orășel fără locuitori.
Apache 2.2+ Module mod_expires
Add to httpd.conf
This module controls the setting of the Expires HTTP header and the max-age directive of the Cache-Control HTTP header in server responses. The expiration date can set to be relative to either the time the source file was last modified, or to the time of the client access.
ExpiresActive on
ExpiresByType text/html “now”
ExpiresByType text/css “access plus 1 month”
ExpiresByType text/javascript “access plus 1 month”
ExpiresByType application/javascript “access plus 1 month”ExpiresByType image/jpg “access plus 1 year”
ExpiresByType image/png “access plus 1 year”
ExpiresByType image/gif “access plus 1 year”
ExpiresByType image/jpeg “access plus 1 year”
ExpiresByType image/x-icon “access plus 1 year”ExpiresByType audio/x-wav “access plus 1 year”
ExpiresByType audio/mpeg “access plus 1 year”ExpiresByType video/mpeg “access plus 1 year”
ExpiresByType video/mp4 “access plus 1 year”
ExpiresByType video/quicktime “access plus 1 year”
ExpiresByType video/x-ms-wmv “access plus 1 year”ExpiresByType application/x-shockwave-flash “access 1 year”
ExpiresByType application/pdf “access plus 1 year”
ExpiresByType application/x-javascript “access plus 1 month”
Sapin de Noel!

Installation de contrôle package pour Text Sublime 2
L’installation est via la Sublime Text 2 console. Une fois ouvert, collez la commande suivante dans la console:
import urllib2,os; pf=’Package Control.sublime-package’; ipp=sublime.installed_packages_path(); os.makedirs(ipp) if not os.path.exists(ipp) else None; urllib2.install_opener(urllib2.build_opener(urllib2.ProxyHandler())); open(os.path.join(ipp,pf),’wb’).write(urllib2.urlopen(‘http://sublime.wbond.net/’+pf.replace(‘ ‘,’%20’)).read()); print ‘Please restart Sublime Text to finish installation’
via wbond
Installing WordPress via SSH command line
Sometimes it is easier to install WordPress on your server without downloading it locally and then uploading it to your website.
1. Log in to the server via SSH.
ssh username@mondomain.ca -p 22
2. Change to mondomain.ca/public_html directory and download the file there.
cd /home/mondomain.ca/public_html
3. The newest version of WordPress is always available at http://wordpress.org/latest.tar.gz
wget http://wordpress.org/latest.tar.gz
4. Extract it.
tar -zxvf latest.tar.gz
5. Move all files and folders (*) to the folder above the one you are in.
mv wordpress/* ../
6. Remove wordpress folder and the downloaded file.
rm -r wordpress
rm latest.tar.gz
7. Rename wp-config-sample.php to wp-config.php.
mv wp-config-sample.php wp-config.php
8. Then we need to edit wp-config.php.
nano wp-config.php
9. Add DataBase databasename/username/password/host.
/** The name of the database for WordPress */
define(‘DB_NAME’, ‘database_name_here’);
/** MySQL database username */
define(‘DB_USER’, ‘username_here’);
/** MySQL database password */
define(‘DB_PASSWORD’, ‘password_here’);
/** MySQL hostname */
define(‘DB_HOST’, ‘localhost’);
10. Create uploads folder and change chmod.
cd wp-content/
mkdir uploads
chmod 755 uploads/
11. Open mondomain.ca in browser, complete the installation, choose a username and password!
lynx http://mondomain.ca
12. Congrats!